
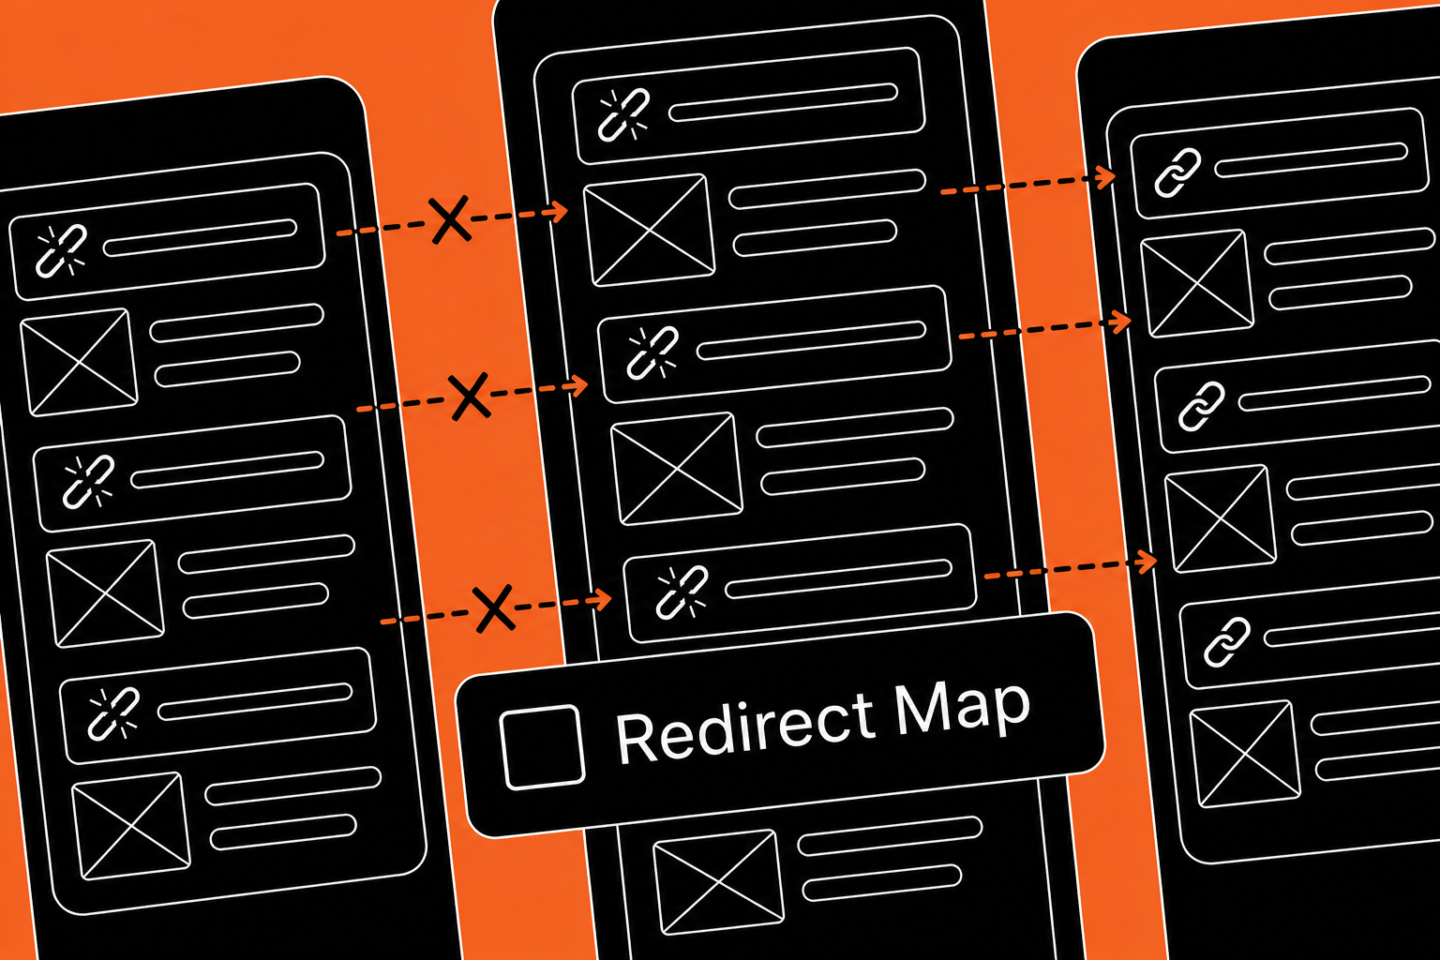
Redirect mapping is one of the most important parts of any website redesign SEO checklist, yet it is often pushed until the final days before launch. That delay can create serious consequences. When old URLs are missed, pages that once ranked can return 404 errors, backlinks can lose value, and organic traffic can drop sharply in the weeks after launch. This checklist walks through the redirect planning process Blennd uses to account for every legacy URL, preserve search equity, and protect organic visibility through launch and beyond.
Key Takeaways
Before you launch a redesigned site, you need a complete redirect map that accounts for every URL Google has indexed, every page analytics shows receiving traffic, and every external backlink pointing to your domain. The redirect map is not a post-launch audit, it’s a pre-launch deliverable. Without it, you’re gambling with years of accumulated search equity. A website migration SEO checklist should include full URL inventory, one-to-one redirect mapping for changed URLs, many-to-one consolidation for redundant pages, staging environment redirect testing, canonical validation, and post-launch 404 monitoring. Most agencies skip the inventory step entirely and only redirect pages they remember building, leaving orphaned URLs to 404 in silence until traffic drops force a reactive audit.
Why most website redesigns lose traffic in the first 90 days
The traffic drop after a redesign isn’t a mystery. It happens because the new site launches with a different URL structure, and nobody mapped the old URLs to the new ones. Google’s index still points to the old URLs. External sites still link to the old URLs. Users still have the old URLs bookmarked. When those URLs return 404s instead of 301 redirects, Google interprets the missing pages as deleted content and drops them from the index.
Search Engine Land reports that most site migrations lose between 20 and 40 percent of organic traffic in the first quarter after launch, and the majority of that loss is attributable to missing or misconfigured redirects. The fix is straightforward, map every old URL to its corresponding new URL before launch, but most agencies either don’t know how to do it systematically or don’t allocate time for it in the project scope.
The problem compounds when the redesign involves a CMS migration. Moving from WordPress to HubSpot, or Drupal to WordPress, often means the new CMS generates URLs in a completely different format. The old site used `/services/seo-consulting/`, the new site uses `/service/seo/`. If you don’t map that change with a 301 redirect, every backlink pointing to the old URL becomes worthless, and every indexed page becomes a 404.
A proper website redesign checklist treats redirect mapping as a required pre-launch task, not a post-launch fix. The redirect map should be finalized and tested in staging before the DNS cutover happens. If you launch first and redirect later, you’ve already lost the traffic.
The redirect mapping process most agencies skip
Most agencies don’t skip redirects because they’re lazy. They skip them because they don’t have a repeatable process for creating a complete URL inventory. Without the inventory, there’s no way to know which URLs need redirects. The typical agency workflow looks like this: designer builds new sitemap, developer builds new site structure, project manager exports a list of new URLs from the CMS, and the dev team redirects any old URLs they happen to remember. The gaps show up after launch when analytics reveals traffic to pages nobody thought to redirect.
The process Blennd uses starts with the inventory, not the new sitemap. Before any design or development work begins, we pull a full list of URLs from three sources: Google Search Console (every URL Google has indexed), Google Analytics (every URL that received at least one session in the past 12 months), and the existing CMS or sitemap file (every URL the old site claims to have published). We merge those three lists, deduplicate, and sort by traffic and impressions. That gives us the full universe of URLs the new site needs to account for.
Once the inventory exists, the redirect map is just a spreadsheet with three columns: old URL, new URL, redirect type. For every old URL, we determine whether it maps one-to-one to a new page, consolidates into a different page, or gets redirected to the homepage as a last resort. One-to-one mappings get 301 redirects. Consolidations (for example, five old blog posts about the same topic merging into one new guide) get 301 redirects to the new canonical page. Truly obsolete content with no equivalent on the new site and no meaningful traffic gets 410 (gone) status, not 404.
The redirect map is then implemented in the staging environment and tested URL by URL before launch. We use tools like Screaming Frog to crawl the staging site and verify that every old URL returns the expected redirect and that the redirect chain doesn’t exceed two hops. If an old URL redirects to an intermediate URL that redirects again to the final destination, Google treats it as a soft 404 and may not pass link equity. Google’s official site move documentation is explicit: redirect chains dilute ranking signals and should be avoided.
Step-by-step website redesign SEO checklist for redirect mapping
This is the exact process Blennd follows to ensure no URLs are orphaned during a redesign or CMS migration.
Step 1: Pull the full URL inventory from three sources. Export every indexed URL from Google Search Console (Coverage report, Valid pages). Export every URL that received traffic in the past 12 months from Google Analytics (Behavior > Site Content > All Pages, export with sessions and pageviews). Export the full sitemap or crawl the existing site with Screaming Frog to capture any URLs not covered by the first two sources. Merge the three lists into one master spreadsheet and deduplicate.
Step 2: Sort the inventory by traffic and impressions. Prioritize URLs that drove the most organic sessions or received the most impressions in Search Console. These are the pages with the most accumulated search equity; losing them has the highest cost. Low-traffic pages still need redirects, but high-traffic pages get mapped first and tested most carefully.
Step 3: Map each old URL to its corresponding new URL. For each row in the inventory, determine where that content lives on the new site. If the page has a direct equivalent (old `/about-us/` becomes new `/about/`), map it one-to-one. If multiple old pages are consolidating into one new page (five old blog posts become one new guide), map all five old URLs to the new canonical. If the content is genuinely obsolete and has no equivalent, mark it for 410 status or redirect to the most relevant category or homepage.
Step 4: Identify redirect type for each mapping. Most mappings should be 301 (permanent redirect). Use 302 (temporary redirect) only if you genuinely plan to restore the old URL later, which is rare. Use 410 (gone) for content that’s obsolete and won’t return. Avoid leaving anything as 404 unless it was never supposed to exist in the first place (for example, a URL created by a spam bot).
Step 5: Implement the redirect map in the staging environment. Work with your development team to configure the redirects on the staging server. The implementation method depends on your hosting environment: Apache uses `.htaccess`, Nginx uses `nginx.conf`, and some CMSs like WordPress use redirect plugins. Test a sample of redirects manually by visiting old URLs in the staging environment and confirming they return 301 status and resolve to the correct new URL.
Step 6: Crawl the staging site to validate the full redirect map. Use Screaming Frog or a similar crawler to test every URL in the inventory. The crawl report should show zero 404s for old URLs, zero redirect chains longer than one hop, and correct HTTP status codes (301 for permanent, 410 for gone). If the staging environment isn’t accessible to crawlers, test a representative sample of high-traffic URLs manually and spot-check edge cases like URLs with query parameters or trailing slashes.
Step 7: Validate canonical tags on the new site. Every page on the new site should have a self-referencing canonical tag pointing to its own URL. Pages that consolidate content from multiple old URLs should have a canonical pointing to the new consolidated URL. Canonicals should use absolute URLs (full `https://` path), not relative URLs. Misconfigured canonicals can cause Google to ignore your redirects and index the wrong version of a page.
Step 8: Set up post-launch 404 monitoring. After the new site goes live, monitor Google Search Console’s Coverage report for new 404 errors. Check server logs or use a monitoring tool like Ahrefs Site Audit or SEMrush Site Audit to catch 404s that Search Console hasn’t surfaced yet. Any 404 that appears after launch is either a URL you missed in the inventory or an external site linking to a URL you didn’t know existed. Add those URLs to the redirect map and implement the fix immediately.
A CMS migration checklist follows the same steps but adds an extra validation layer: ensure the new CMS isn’t generating duplicate URLs or conflicting with the redirect map. Some CMSs auto-generate URLs based on page titles or publish dates, which can create unintended redirects or canonicalization conflicts if not caught in staging.
Common redirect mapping mistakes that cost traffic
The most common mistake is assuming the old sitemap is complete. The sitemap only lists pages the CMS knows about; it doesn’t capture orphaned pages, archived content, or URLs created by plugins or custom code. If you only redirect URLs from the sitemap, you’ll miss pages that still have backlinks or residual traffic.
The second mistake is redirecting everything to the homepage. When an agency doesn’t know where old content should land on the new site, the easy fallback is to point all old URLs to the homepage. Google treats mass homepage redirects as soft 404s and may drop the old URLs from the index without passing equity to the new site. Ahrefs’ migration guide recommends redirecting to the most relevant new page, even if it’s not a perfect match, rather than defaulting to the homepage.
The third mistake is ignoring query parameters. A URL like `/blog/post?utm_source=email` is treated as a separate URL by Google, even though it resolves to the same page as `/blog/post`. If the redirect map only covers the base URL, the parameterized version returns a 404. The fix is to configure server-level rules that strip or ignore non-essential parameters, or explicitly map parameterized URLs in the redirect file.
The fourth mistake is launching the new site before testing the redirects. If the redirect map is only implemented on production after DNS cutover, there’s no way to validate it before traffic starts hitting the new site. By the time you discover a broken redirect, users and crawlers have already encountered 404s. Testing in staging catches those errors before they cost traffic.
What to do when the old site has too many URLs to map manually
For sites with tens of thousands of pages, manually mapping every URL isn’t feasible. The solution is to use pattern-based redirects combined with selective manual mapping for high-value pages.
Start by identifying URL patterns that can be redirected programmatically. If the old site used `/blog/2023/05/post-title/` and the new site uses `/blog/post-title/`, you can write a regex-based redirect rule that strips the date segment from any URL matching that pattern. Similarly, if old category pages used `/category/topic/` and new ones use `/topics/topic/`, a pattern rule handles the bulk of the work.
After pattern-based rules are in place, manually map the top 500 to 1,000 URLs by traffic. These are the pages that drive the majority of organic sessions and hold the most valuable backlinks. Even if the pattern rules cover 95 percent of URLs, the top 5 percent by traffic deserves individual validation to ensure the redirect destination is contextually appropriate, not just structurally correct.
Finally, set up a catch-all rule for any URL not covered by the pattern rules or manual mappings. The catch-all should redirect to a custom 404 page that suggests relevant site sections, rather than dumping users on the homepage with no context. This limits the damage from edge cases you couldn’t predict during planning.
How to validate your redirect map after launch
Launch day isn’t the end of redirect work; it’s the beginning of the monitoring phase. In the first 30 days after launch, monitor these signals daily to catch issues before they compound:
Check Google Search Console’s Coverage report for new “Not found (404)” errors. Any spike in 404s after launch indicates URLs that weren’t covered by the redirect map. Add those URLs to the map and implement redirects immediately.
Check Search Console’s “Top queries” report for ranking drops on high-value keywords. If a page that ranked in position 3 drops to position 20 after launch, either the redirect failed or the new page isn’t equivalent to the old one in Google’s eyes. Investigate the redirect chain and content parity.
Check Google Analytics for traffic drops to specific sections of the site. If blog traffic drops 40 percent but homepage traffic stays flat, the issue is likely blog-specific redirect failures. Drill into the blog URLs to identify which ones are 404ing.
Run a full-site crawl with Screaming Frog or Ahrefs and compare the crawl report to your original URL inventory. Any old URL that returns a 404 in the post-launch crawl is a redirect you missed. Any old URL that redirects to an unexpected destination is a misconfigured redirect. Both need immediate fixes.
Monitor server logs for 404 requests from Googlebot. Search Console reporting lags by days; server logs are real-time. If Googlebot is hitting 404s, it means Google is still trying to crawl old URLs, and those URLs need redirects.
Frequently Asked Questions
What’s the difference between a 301 and a 302 redirect in a website redesign?
A 301 redirect is permanent and tells Google the old URL has moved forever to the new location; link equity and rankings transfer to the new URL. A 302 redirect is temporary and signals the old URL will return; Google may not transfer rankings. Use 301 for redesigns unless you genuinely plan to restore the old URL later.
Should I redirect old blog posts to the homepage if the new site doesn’t have a blog?
No. Redirecting everything to the homepage is treated by Google as a soft 404 and may result in ranking loss without equity transfer. If the old blog posts have backlinks or residual traffic, redirect them to the most contextually relevant page on the new site, even if it’s a service page or resource hub, not a blog.
How long after launch should I keep monitoring for 404 errors?
Monitor daily for the first 30 days, then weekly for 90 days, then monthly for a year. Most redirect issues surface in the first month, but edge cases like external sites updating their links or old sitemaps cached by crawlers can take months to fully resolve.
Do I need a website redesign SEO checklist if I’m keeping the same domain?
Yes. Staying on the same domain eliminates DNS cutover risk, but URL structure changes still require redirect mapping. If your old site used `/services/seo-consulting/` and your new site uses `/services/seo/`, that’s a URL change that needs a 301 redirect, even though the domain didn’t change.
What’s the best tool for testing redirects in staging before launch?
Screaming Frog is the most reliable for comprehensive redirect testing. Configure it to crawl your staging site, import your old URL list as a custom crawl, and check the HTTP status codes. The export will show which URLs returned 301, which returned 404, and which created redirect chains.
Can I use a WordPress plugin to handle redirects instead of server-level configuration?
You can, but server-level redirects (via `.htaccess` or `nginx.conf`) are faster and more reliable. Plugins like Redirection or Yoast handle small redirect maps well but can slow down page load if the redirect file grows to thousands of entries. For large migrations, server-level configuration is the better choice.
Sources
- Website Migration Guide: How to Switch Domains Without Losing Traffic. Ahrefs, 2023.
- Site moves with URL changes. Google Search Central, 2024.
- The Essential Guide to Website Migrations. Moz, 2023.
- How to Perform a Website Redesign Without Losing SEO Rankings. SEMrush, 2024.
- The hidden cost of website redesigns: Traffic loss you didn’t budget for. Search Engine Land, 2024.
Need help protecting your search equity during a redesign?
Most agencies treat redirect mapping as an afterthought and only discover the gaps after traffic drops. Blennd builds the redirect map before design starts, tests it in staging, and monitors post-launch so your organic visibility stays intact through the migration. If you’re planning a redesign or CMS migration and want to protect years of accumulated search equity, contact our team to walk through our pre-launch website redesign SEO checklist.